8.2.3 Crop the image into slices
Everything in the web is located/included in a TABLE or in a DIV (Web 2.0).We can take advantage of the tables and create cool stuff like rounded buttons with text inside.
Each table has cells. Each cell can contain one image or more.
This might sound strange but when you will see the final result everything will be clear to you.
The piece 2x2 will contain our button caption and must be sizable, instead all the rounded corners must have a fixed size (1x1 1x3 3x1 3x3).
The pieces 1x2 3x2 must follow the width of the central caption (2x2).
And finally the pieces 2x1 2x3 follow the height of the central caption (2x2).
This operation is harder to explain than doing so let's start.
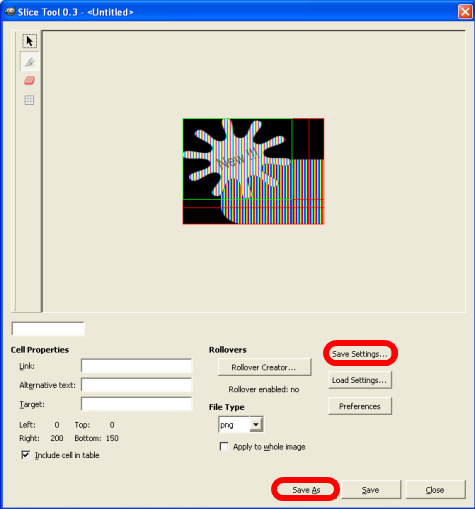
Gimp has a lot of plugins. A good slicer is included at gimp-sharp. Gimp-sharp works under Windows and Linux. Close Gimp then download and install gimp-sharp and restart Gimp. Now open your resized png and go to 'Filters' - 'Web' - 'Slice Tool'
The screen you see in the slice tool is the current image.
To slice it press the second button in the toolbar (looks like a knife) and press anywhere in the image.
If you move the knife horizontally you will get a horizontal line, if you move it vertically you will get a vertical line. Now press the 'Save Settings' and the 'Save as' to save your cropped images.
This operation will also generate a html file (like the MyImageSmall.html). Figure fig:71

fig:71 Slice Tool inside Gimp
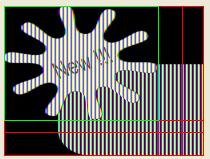
In the figure fig:72 we can see the detailed image before it's get cropped into 9 pieces.

fig:72 Zoomed Crop
So now we have 9 png images. We create a folder called 'images' and we put them inside. Please note that in '06Demo' the folder that contain the images is called 'images' too. The hole project of this section is included at the folder 'ButtonProject'. (Download ButtonProject)