


Avi2Dvd Screenshots
Click to enlarge the screenshots:
Avi2Dvd on Windows 7:

Step 1 [Load the movie]:

Step 2 [Select your output format]:

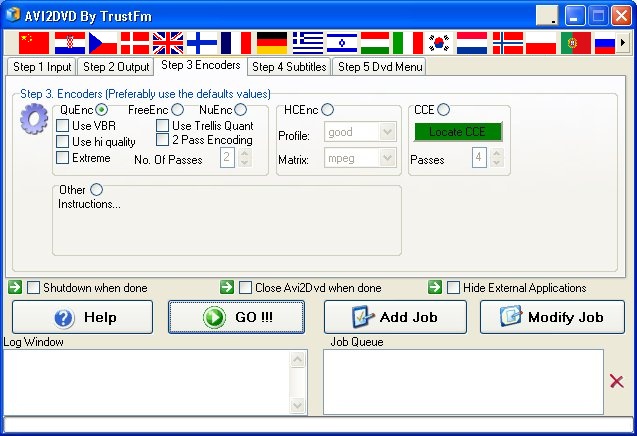
Step 3 [Select your encoder]:
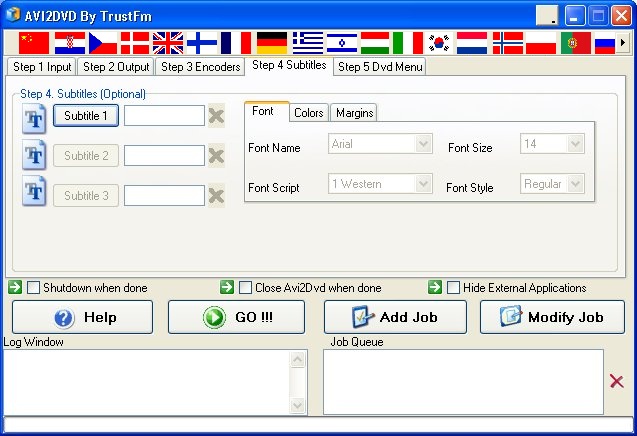
Step 4 [DVD output case] [Select your subtitles]:

Step 4 [(S)VCD output case] [Select your subtitles]:
Step 5 [Dvd menu]:

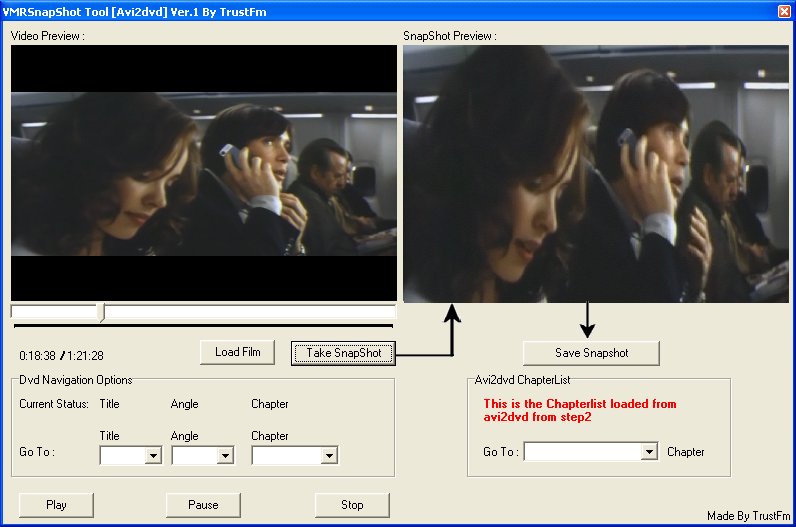
Screenshot Capture tool [Useful to make cool DVD menus] :
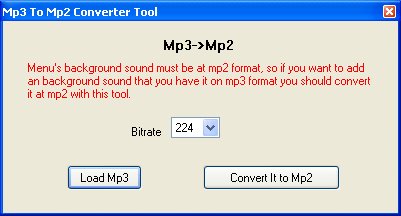
Mp3->Mp2 converter
[Useful for adding sound on the dvd menus] :
WYSIWYG Dvd Menu Editor :
